When and how to use plain text emails
By Pam Neely May 6, 2022
Rather watch? Cool. 🎥👇
Plain text emails are a minimalist marketer’s best friend. And while they are sometimes viewed as “old school,” text-based emails are still read and sent all the time. You’ve probably been sending some yourself.
So if paring your email messages down to their simplest form, or making your emails readable on devices like Apple watches sounds interesting, keep reading. This article will cover:
- What is a plain text email?
- The difference between plain text and HTML emails
- When to use plain text instead of HTML emails
- Do plain text emails improve email deliverability?
- How to make text-based emails look better
- Why you should clean up auto-generated plain text emails
What is a plain text email?
A plain text email is what it sounds like: It’s an email message that only includes text. There are no images or graphics and no formatting. All the links are written out.
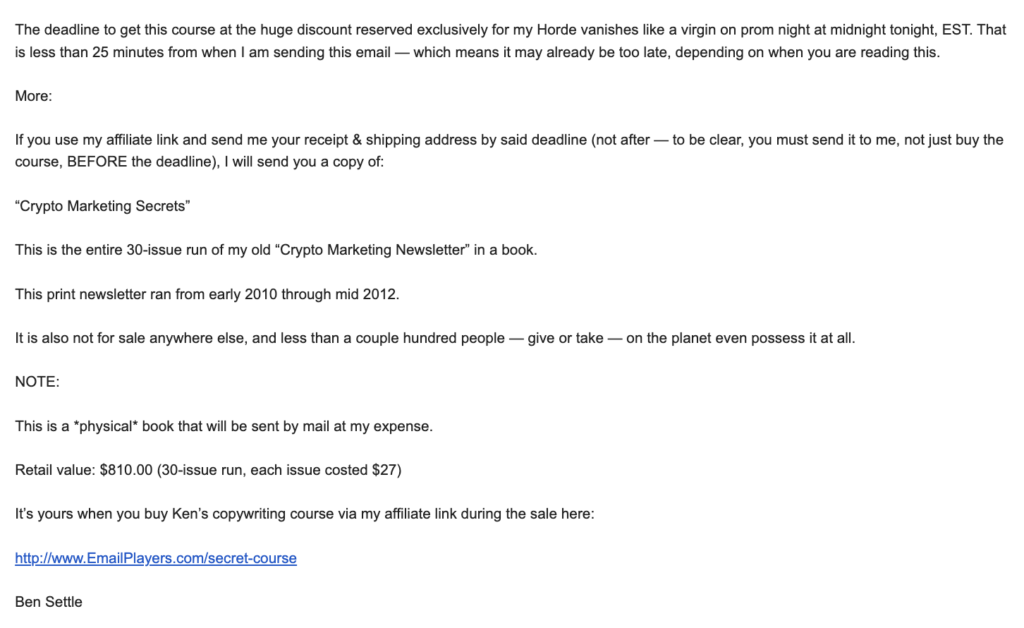
Here’s an example of a plain text email:
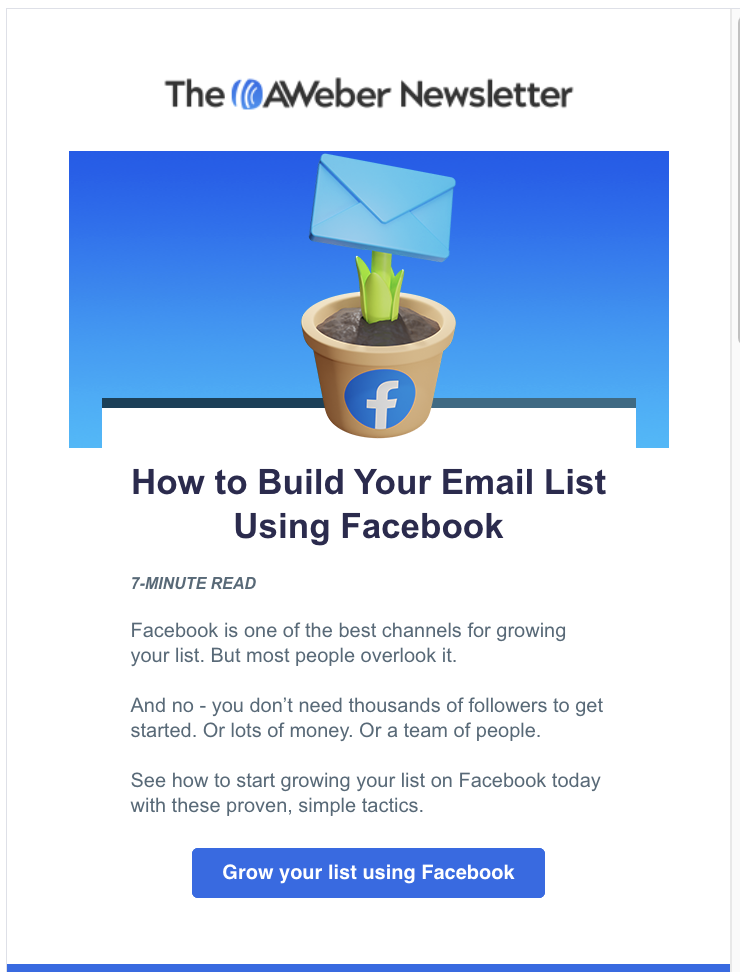
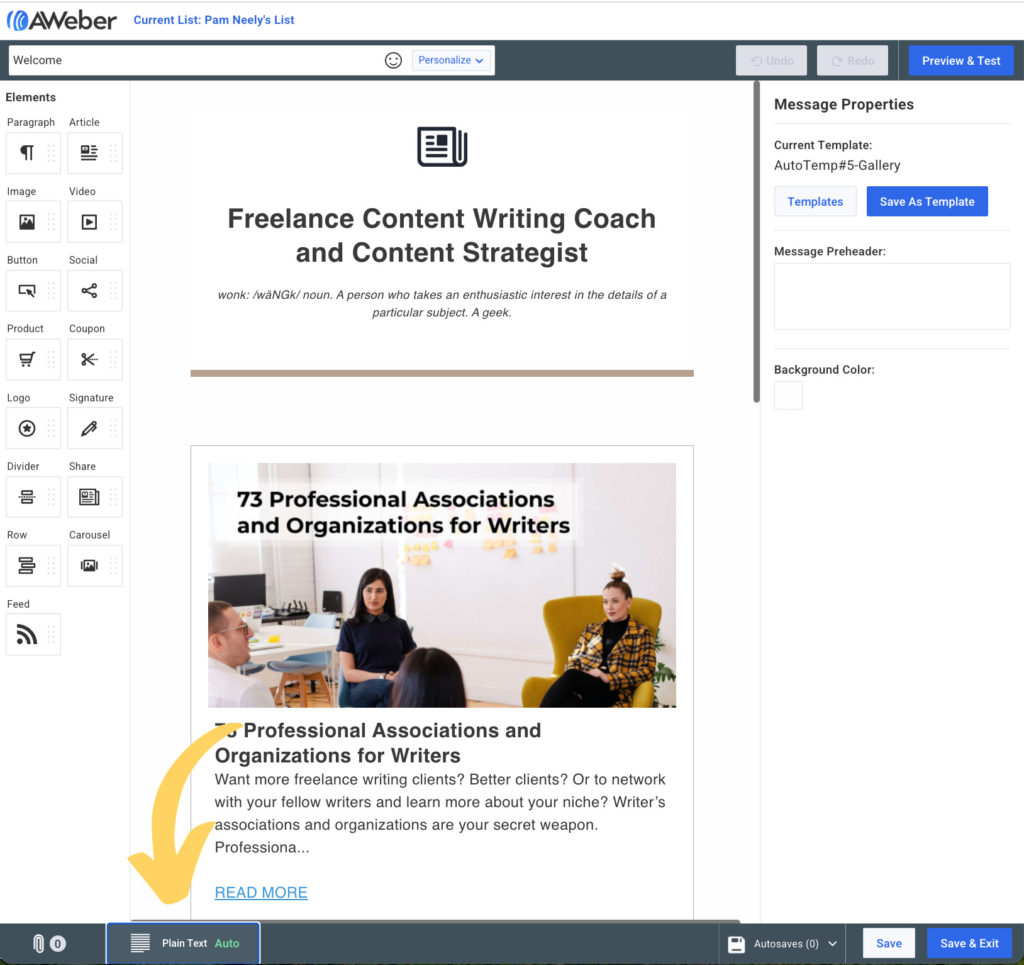
And here’s the HTML version of that same email:
The difference between plain text and HTML emails
As you can see in the examples above, plain text emails look like… plain text. HTML emails look more like a website page, complete with an image, a colored background, and embedded links – all the visual elements most marketers want to have in their emails.
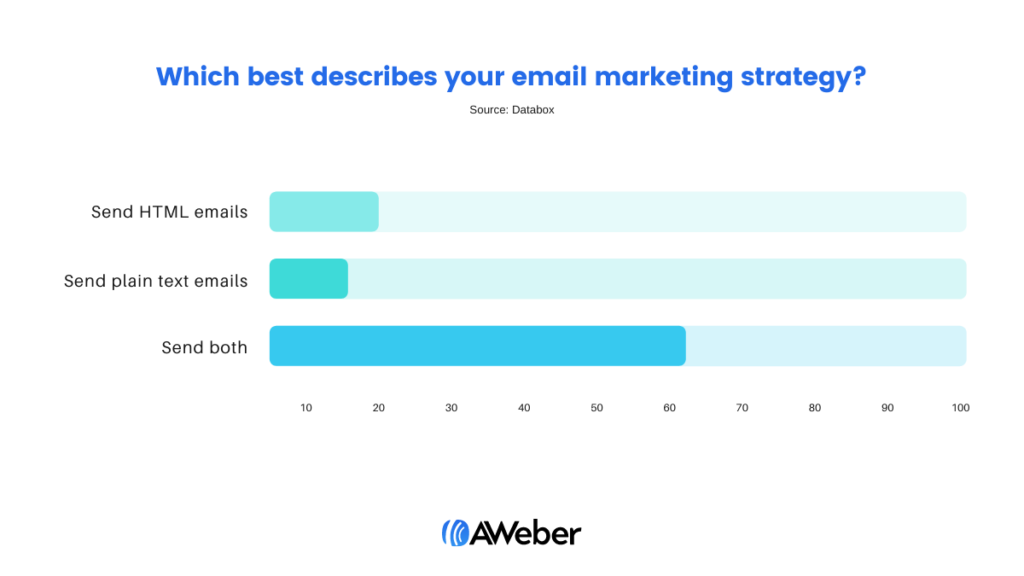
Maybe most marketers, but not all of them. One survey of email marketers showed that only 20% of marketers prefer to send only HTML emails. 62% prefer to send a hybrid HTML/plain text email, and 16% actually prefer to send only text-based emails.
This is consistent with email marketing best practices. It’s also fairly easy to do. Almost all email marketing services let people send two versions of their emails – text and HTML. And many email services will automatically create a text version of every email.
When two versions of an email are sent (using “multi-part MIME format,” if you want to get geeky), each subscriber’s email client will show either the HTML or the plain text version, depending on the settings in the subscriber’s email client.
For the email senders who expressly want to send only text emails, many email service providers allow them to set up their email campaign so it only goes out as plain text.
This is why you’re probably sending plain text emails already – because your email service provider automatically makes a text version of every email you send.
When to use a text-based email instead of an HTML email
So why do some email marketing services automatically create text-only emails? Is there ever a good reason to send only a text-based email?
Those are all great questions.
Plain text emails still have their place. Here are five reasons to use them:
- Plain text emails have a smaller file size than HTML emails, so they load faster
Text-only emails are great if your subscribers happen to have a slow internet connection. So… say you’re sending emails to hikers in the backcountry or to people in other remote places. If you sent them a text-only message, they’d be more likely to be able to read it without having to wait a long time for it to load.
- Text-only emails can be read on more devices.
Plain text emails can be read by “internet of things” sort of devices like Apple Watches, or even by apps that can read people’s emails to them while they’re driving.
This also means they’re better for accessibility. For those that depend on text-to-speech readers, these emails are easier to be read aloud for those with vision impairments.
- Plain text emails can have a more personal feel.
Sometimes copywriters, coaches, or consultants will send text-only emails because they want their emails to appear more personal. And a plain text message does look more like a message you’d get from a friend.
How well this tactic will work will depend on your audience and your copywriting skills. Once all the pretty pictures and design are gone, all that’s left is your copy.
- Text-only emails can be a good format for transactional emails
One other instance where you might see a text email now is if you’ve placed an order online. Not all ecommerce websites send text-only transactional emails, but many do.
You won’t be able to include product photographs or social media icon links if you use a plain text email, but if you’re just getting started with your business, sending a plain-text email is a good enough start.
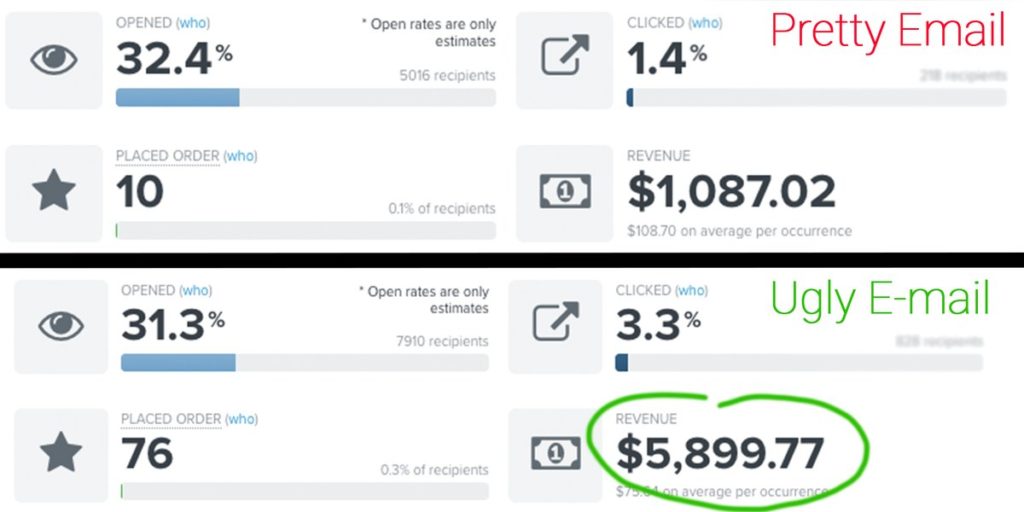
- Some ecommerce consultants say that “ugly” (aka plain) emails convert better than “pretty” (HTML) emails
Why? They say because ugly emails stand out in the inbox better. There are also reports that ugly emails work better for fundraising as well.
The jury’s out on this – but you might want to test the theory. Create a split-test of a few ugly emails and test them against your prettier HTML emails. Let us know what you find out!
Do text emails improve email deliverability?
No. But a few years ago, there was some discussion online about whether or not plain text emails improved email deliverability. Ultimately, it wasn’t true.
AWeber email deliverability expert Chris Wong suggests that any worry about HTML versus plain text email delivery is misplaced. He suggests,
The better questions to ask are the following:1 – Who are your subscribers (are they Gmail, Yahoo, etc, users, or are they B2B users)?
2 – Has the user subscribed to be mailed and provided their consent to be mailed, and are they expecting your messages?
3 – Are the messages being sent engaging to the user or are they being ignored, or worse, users are complaining about them? Regularly look at your engagement rate trends.
There are various signals involved that contribute to whether messages go to the Inbox. Depending on who you are mailing and the Mailbox Provider they reside with, that will dictate where your focus should be. Major Mailbox Providers will heavily weigh user engagement, both positive and negative. The assessment from those will have a strong influence on where the messages go.
Be wary of what’s in your messages as well. After paying attention to your engagement rates and bounce rates, then check if any link domains are blocklisted, or if there are particular words or phrases that might be contributing to spam detection. This will entail testing your message, trying different variations, as well as performing split-testing, which can be helpful to test subject lines and message content, providing insight into what performs best.
So set that email marketing myth aside. There are good reasons to send plain text emails, but email deliverability isn’t one of them.
How to make text-only emails look better
Plain text emails can be “dressed up” a bit more than just plain text. This is especially important for scannability and calls to action.
As you probably know, most people don’t read all the copy on a page (you aren’t the only one who skims!). We can’t stop this behavior, so we have to adapt to it. Even pro copywriters will make their copy easy to scan.
To make your emails easier to scan, try:
- One-line or very short paragraphs
- Bullet points
- Simple characters to emphasize text
- Putting your call to action on a line by itself
- Using a postscript to highlight the key message of your email
- Occasionally using all caps (please use sparingly)
This text email from email copywriting master Ben Settle employs many of those best practices, including one-line paragraphs, the call to action on its own line, and a few words in all caps.
Clean up auto-generated plain text emails
So you probably have already been sending plain text emails, because most email marketing services send both text and HTML versions of every email.
But have you ever checked how your plain text emails look?
Sometimes auto-generated text emails get a little garbled, so it’s not a bad idea to do a quick spot check of your emails before they go out. You’ll probably only have to add a few line breaks, but it will make your emails easier to read. This is especially true if you tend to send HTML emails in a two or three-column layout.
Here’s how to do this within an AWeber account. This is the view of the message editor. It shows the HTML version of an email message. To edit the plain text version, just click on the plain text icon in the lower left-hand corner of the screen.
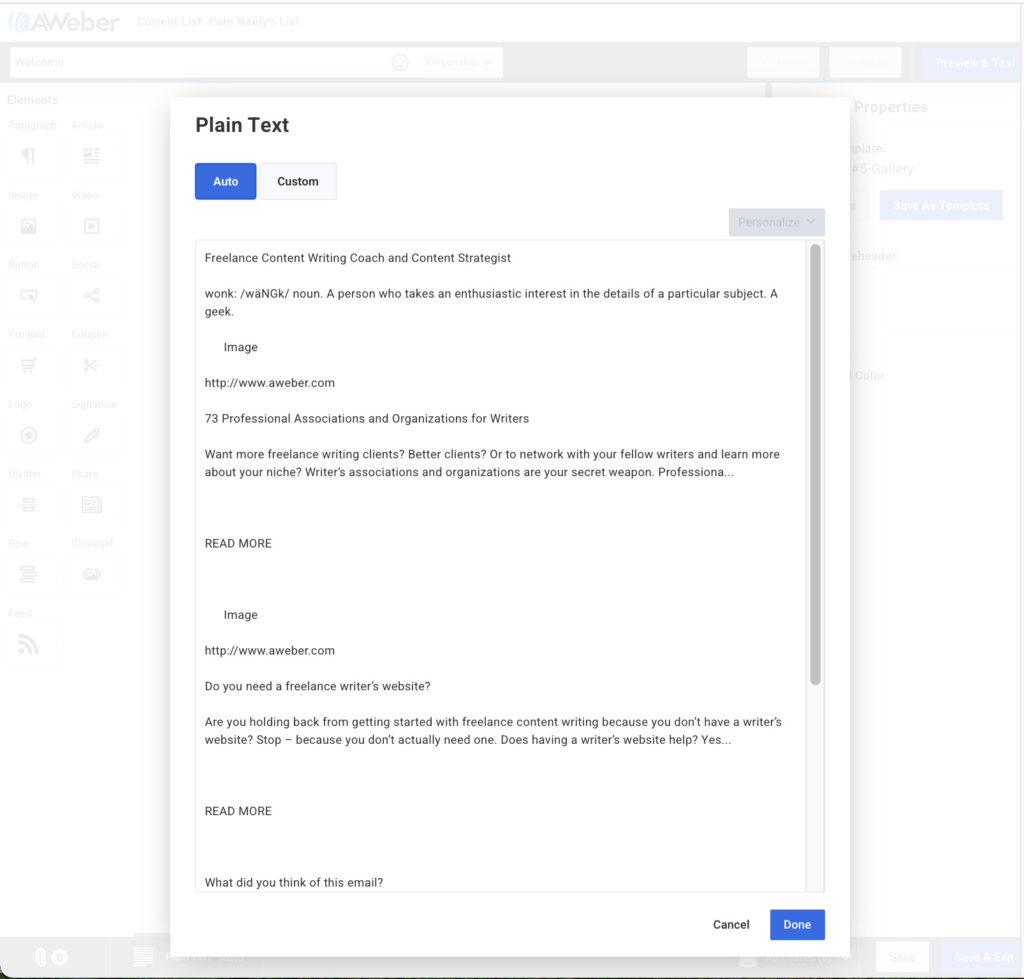
After you click that, you’ll see the text version of your email.
Even now, plain text emails have their place
So that’s the 411 on plain text emails. They deserve more attention than they get. Depending on your audience and your email marketing goals, they might work really well for you. And if you have any results to share about plain text emails that outperformed HTML emails, we’d love to hear about them in the comments.